Finally marked that off the list.
The original chainplates are welded together with steel stringer and glassed in during the lay up of the hull in the mold. This might have been a good idea in the early 80’s. Today on a 40 year old boat you might want to inspect the chainplates before going offshore. On our boat there is no way to remove or inspect the chainplates. We thought about this issue for years. The best fix we found was to keep the original chainplates installed and use them as backing plates for our new external stainless steel chainplates. We saw another HC33 do this with bronze chainplates and used their project as a guide. Thank you s/v Prism crew.
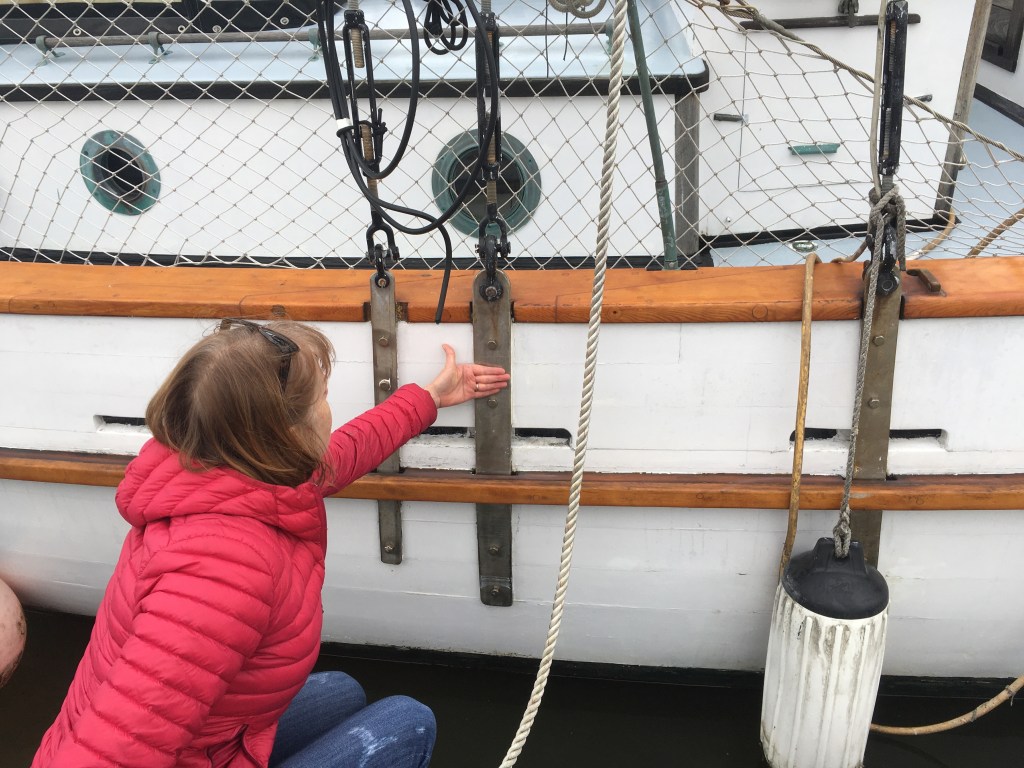
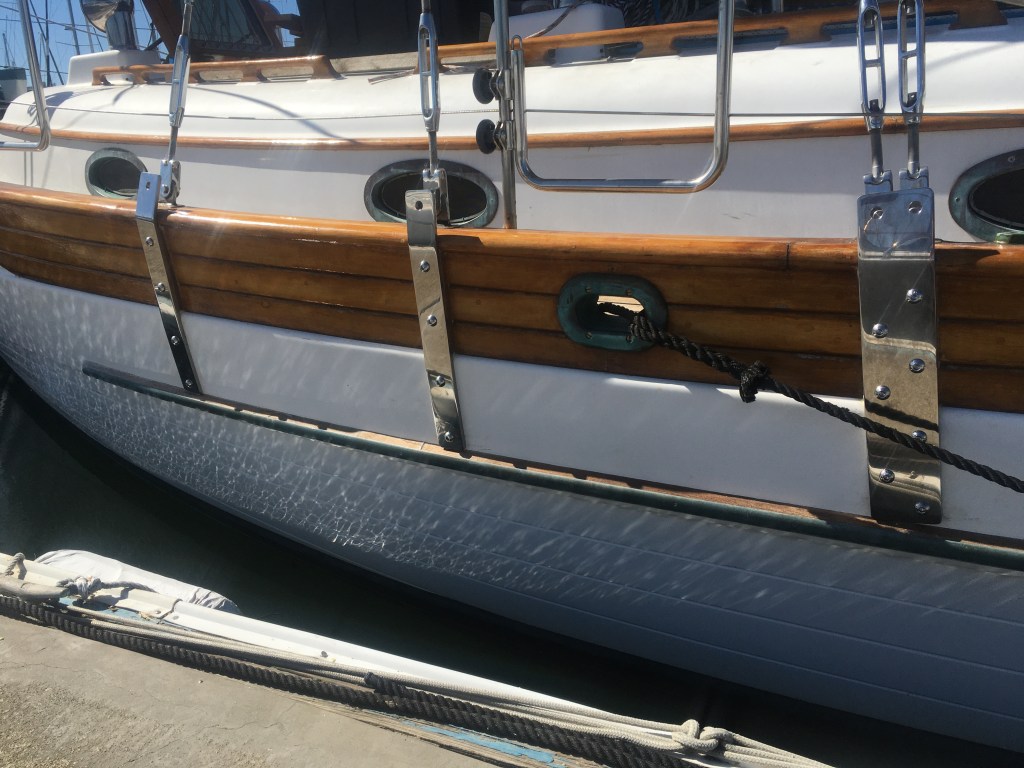
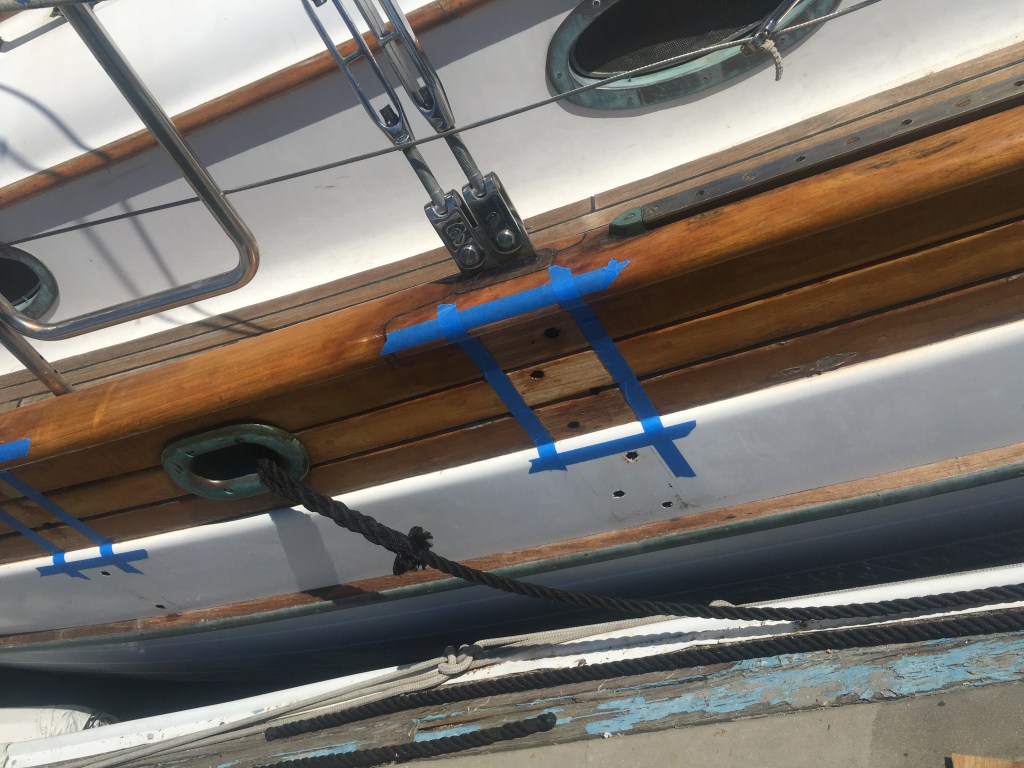
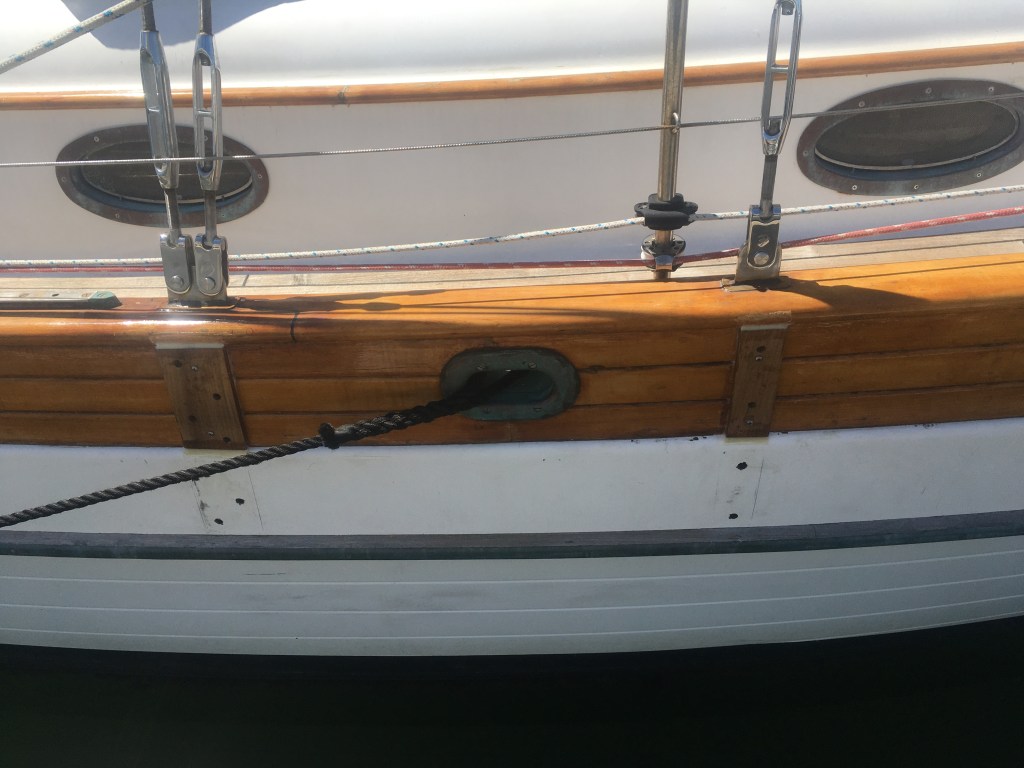
Many dock walks looking at chainplates on other boats to figure out what our final plan is. We had to choose the metal, bolts, and placement of the chainplates. We even went as far as taping aluminum foil rectangles to the boat to see what it would look like. We ended up deciding on stainless steel plates and button head bolts. We decided to leave the rub rail alone and mount the chainplates above it. The basic process to fabricate chainplates is bending, drilling, cutting, and polishing the metal. The boat modification is simply drilling the hull through the original chainplates, and getting access on the inside to install the fasteners.
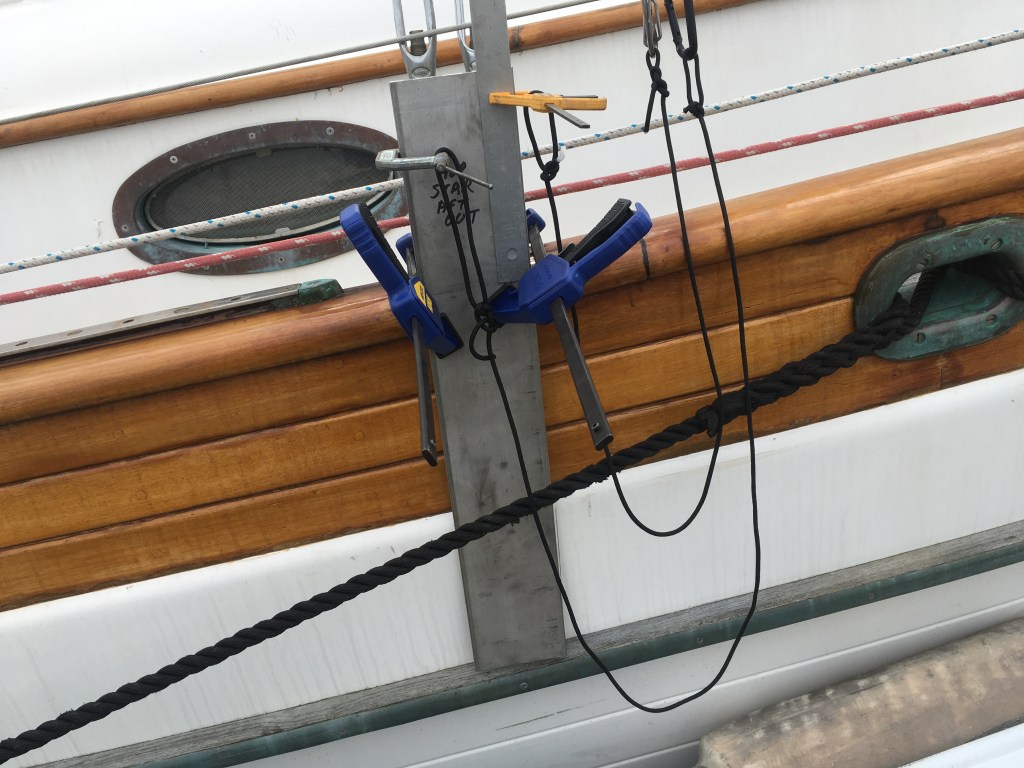
Aligning the raw chainplate with the stays, marking the hull for location, and marking the plate for the bends.
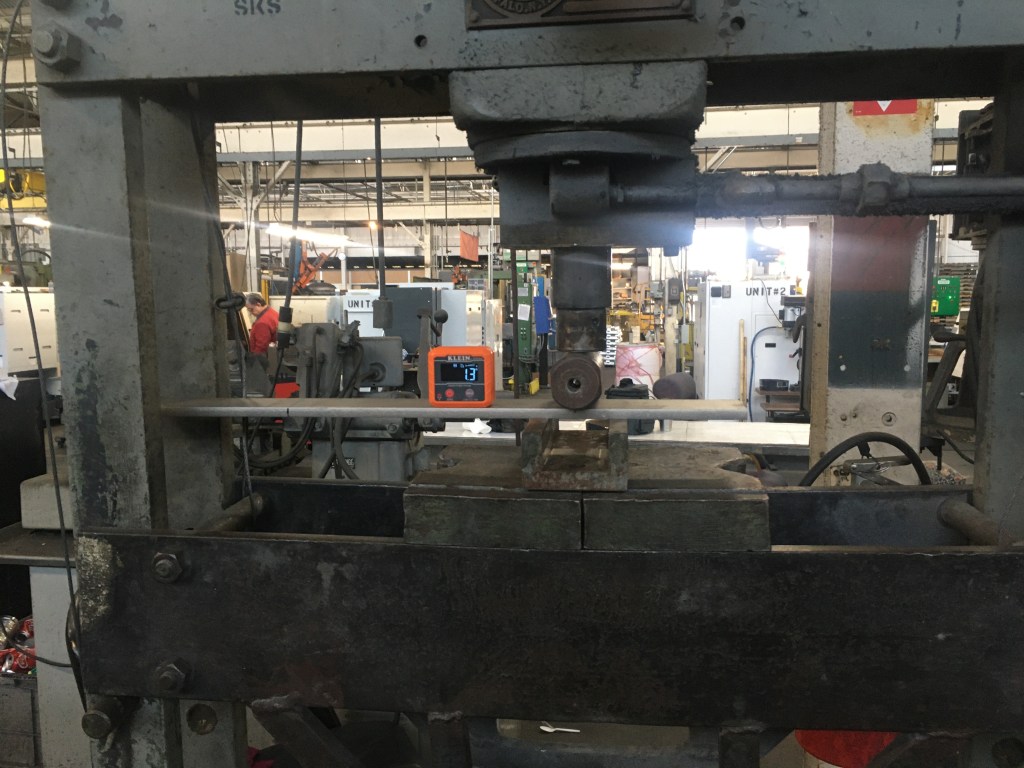
Bending the raw chainplate with a press in two locations measured with a digital protractor.


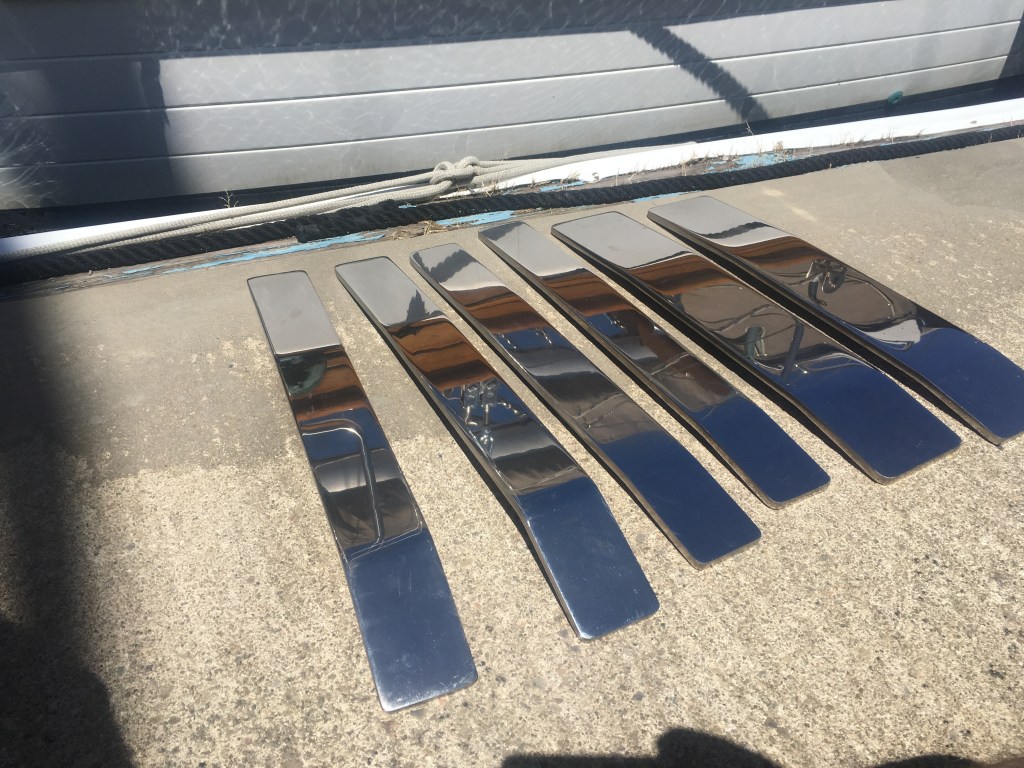
The polishing process. From 40 grit to finish with 2000 grit with a random orbital polisher.
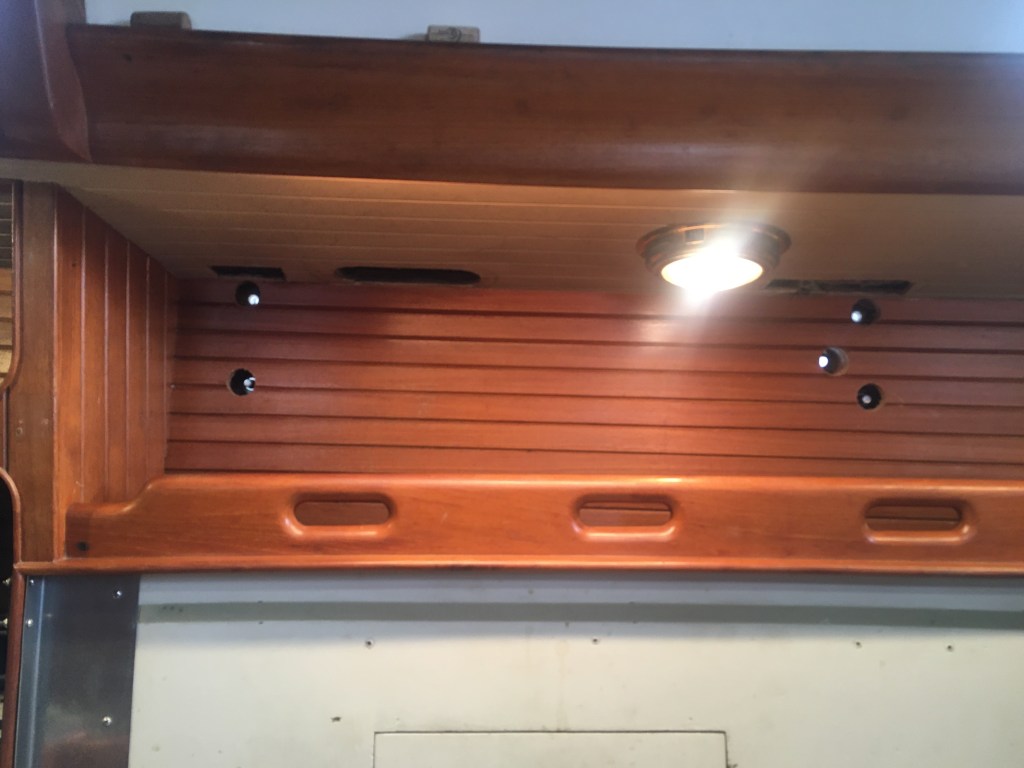
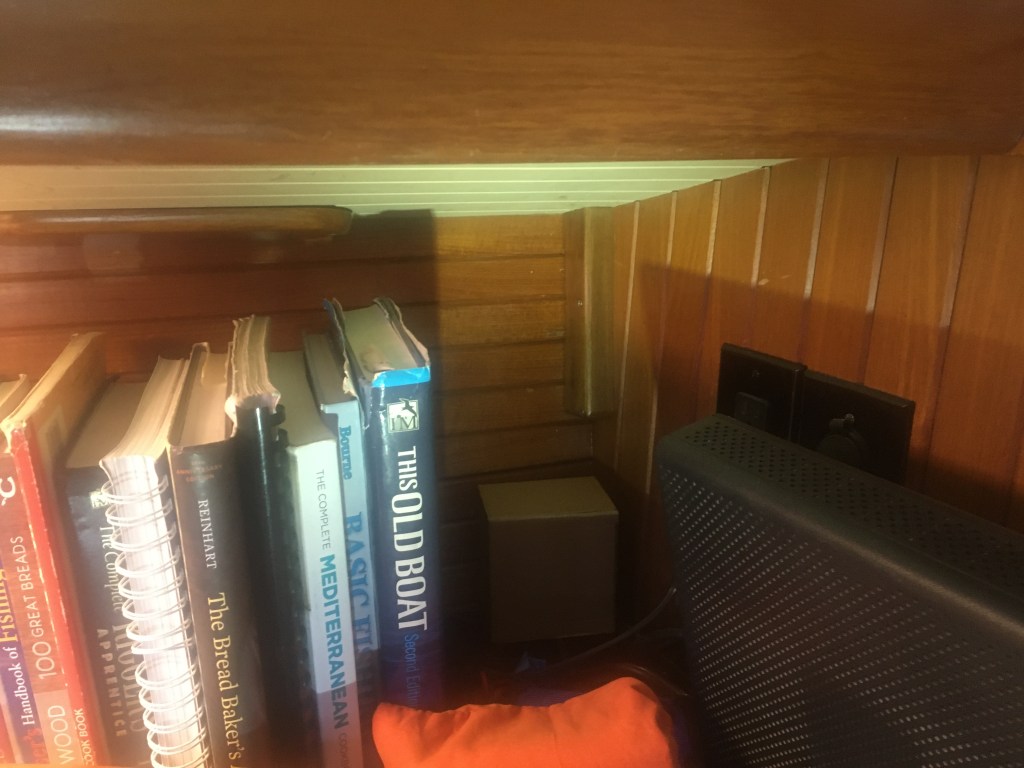
Access holes inside the cabin.
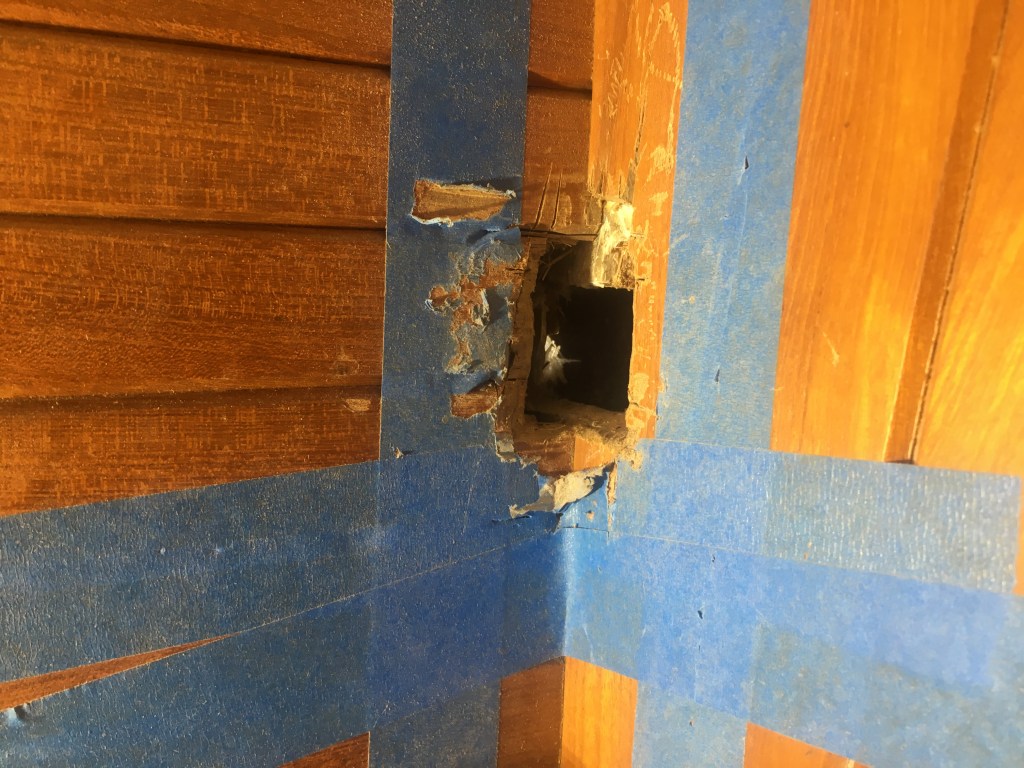
This plate had the bolts locations in the middle of a bulkhead. Had to do some surgery on the teak to get access.
Shim blocks to fill the space between the recessed teak and the chainplates.

“stair plugs” to cover the access holes drilled into the cabin teak trim.
Trim piece to cover the cutting up of the bulkhead.
Time to relax and not worry our rig is going to come down because of a failed chainplate. The raw chainplates are 3/8 inch 316 stainless plates, 4 each 2 1/2 inch wide and 2 each 4 inch wide all 24 inch long. The chainplates are sealed to the hull with 3M 5200 adhesive, the hardware is sealed with 3M 4000UV sealant. The attachment hardware is a 1/2 -13 bolt, 1 1/4 x .200 oversize washer, lock washer, and a nut. About half of the bolts are cut to length for the location.


Leave a comment